
Start With The Job Your Banner Must Do
Before you choose size or finish, define the job. A banner for a school sports day has a different brief from a mine safety notice, a shop opening or a roadside promotion in the Rustenburg CBD. Ask where people will see it, how close they will stand, and whether it must survive rain, strong wind or long sun exposure. That one step saves time and money later.
For short campaigns, a lighter banner can do the job well. For a longer term site or fence line, use a heavier banner material and stronger finishing. If the banner will be folded and stored between uses, ask for a finish that is less likely to crease. If it will stay outside for months, plan for reinforced edges and enough fixing points so it does not tear in gusty weather.
- Work out the viewing distance: close up needs smaller text, road side needs bigger text.
- Decide the lifespan: one day, one month, or longer.
- Check the site: wall, fence, frame, pole, gate, or stand.
- Think about weather: sun, wind, rain and dust all matter in North West conditions.
Choose The Right Banner Material For Your Site
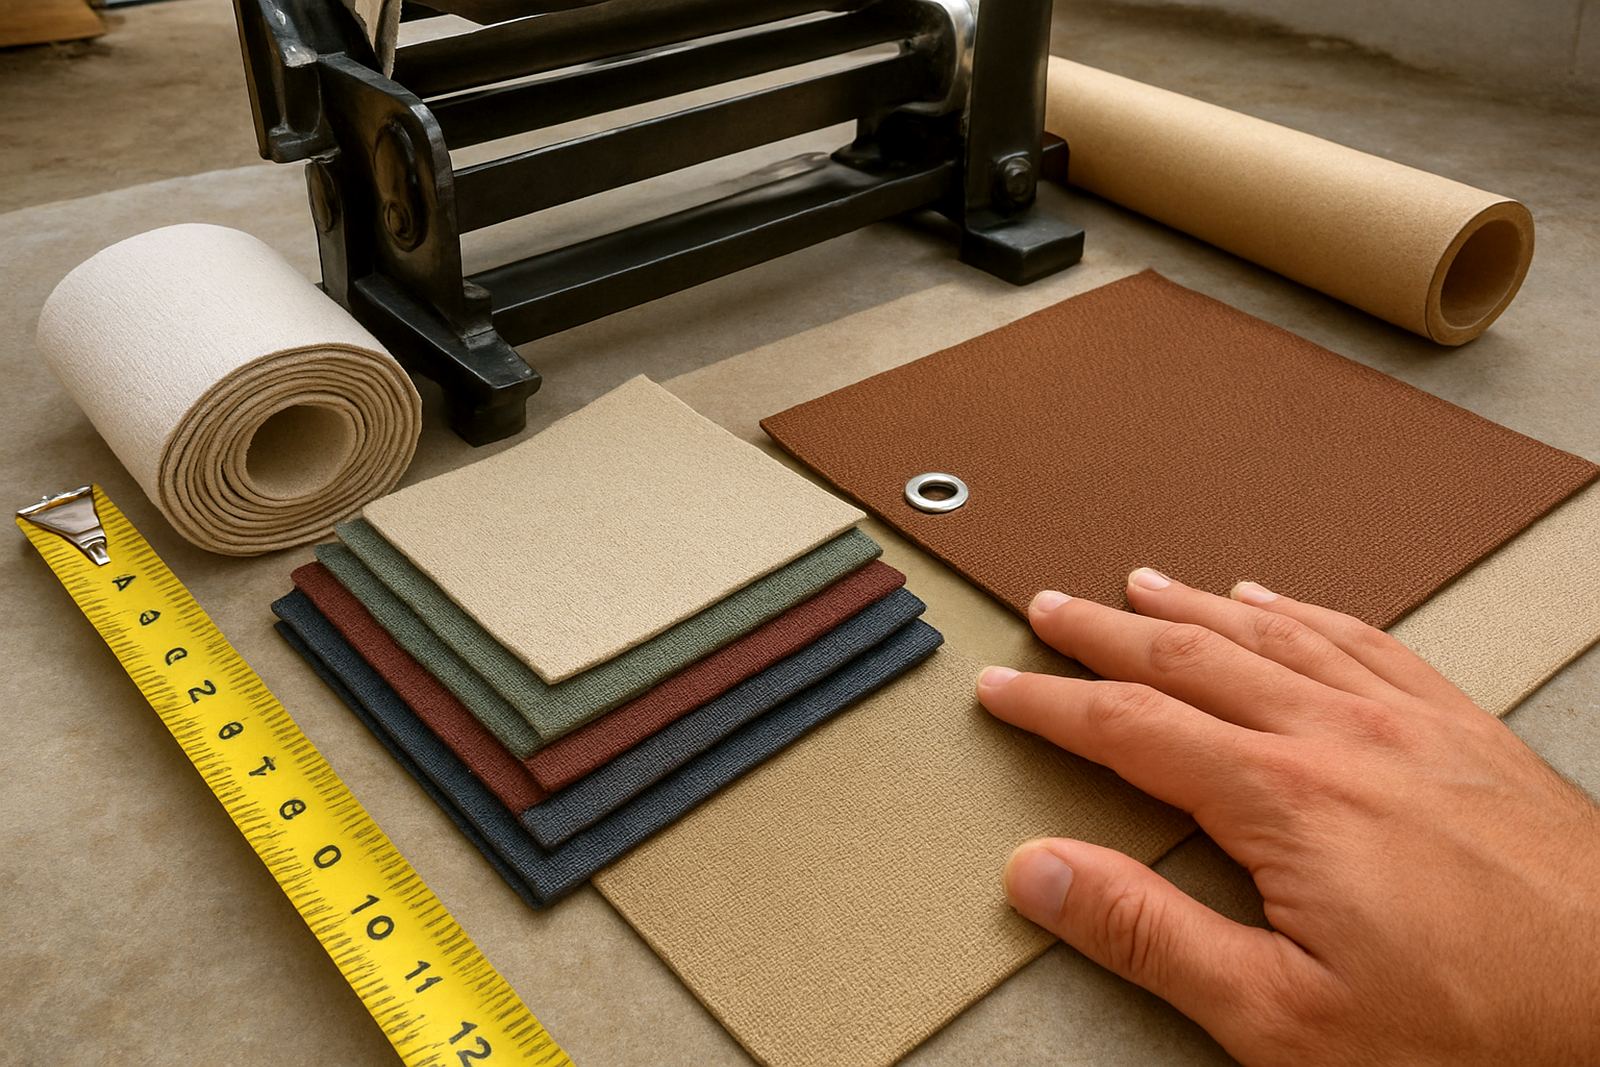
Banner material is not all the same. A standard PVC banner is a common choice for general indoor and outdoor use. It gives solid print quality and works well for store openings, church events, school notices and contractor branding. When the message needs to sit outside for longer, ask for a thicker option that handles wind and handling better.
For places with high wind, especially open yards, fences near roadways or sites around Kroondal and Marikana, consider a mesh banner. The small openings allow some air movement, which helps reduce strain on the banner. That makes it a practical option where a solid sheet could pull hard against the fixings. Mesh is not the best choice for very fine text though, so keep the artwork simple.
Fabric banners can work well for indoor use, exhibitions and branded backdrops. They look neat and pack down easily. For temporary outdoor use, always confirm how the banner will be secured and whether the print area must stay visible from a distance. A good rule is to match the material to the pressure on the site, not just the price per square metre.
- Use standard PVC for general promotions and short to medium term outdoor use.
- Use mesh where wind is a real concern.
- Use fabric for indoor events, photo walls and light handling.
- Ask about UV exposure if the banner will face direct sun most of the day.
Size, Layout And Readability Matter More Than You Think
A banner can be printed perfectly and still fail if people cannot read it fast enough. Keep the message short. Put the brand name, the offer or purpose, and one clear call to action. Too much text makes the banner hard to read from a moving vehicle or across a courtyard. This is especially important for highway edges, school entrances and mine perimeter walls.
Size should suit the wall or frame, but also leave room for breathing space around the artwork. Do not push important text into the edges, where eyelets, stitching or folds may hide it. If the banner hangs on a fence, allow for overlap and movement. If it will be seen from the street, use bold lettering and strong colour contrast. Pale text on a light background often gets lost in bright sun, a common issue in open North West sites.
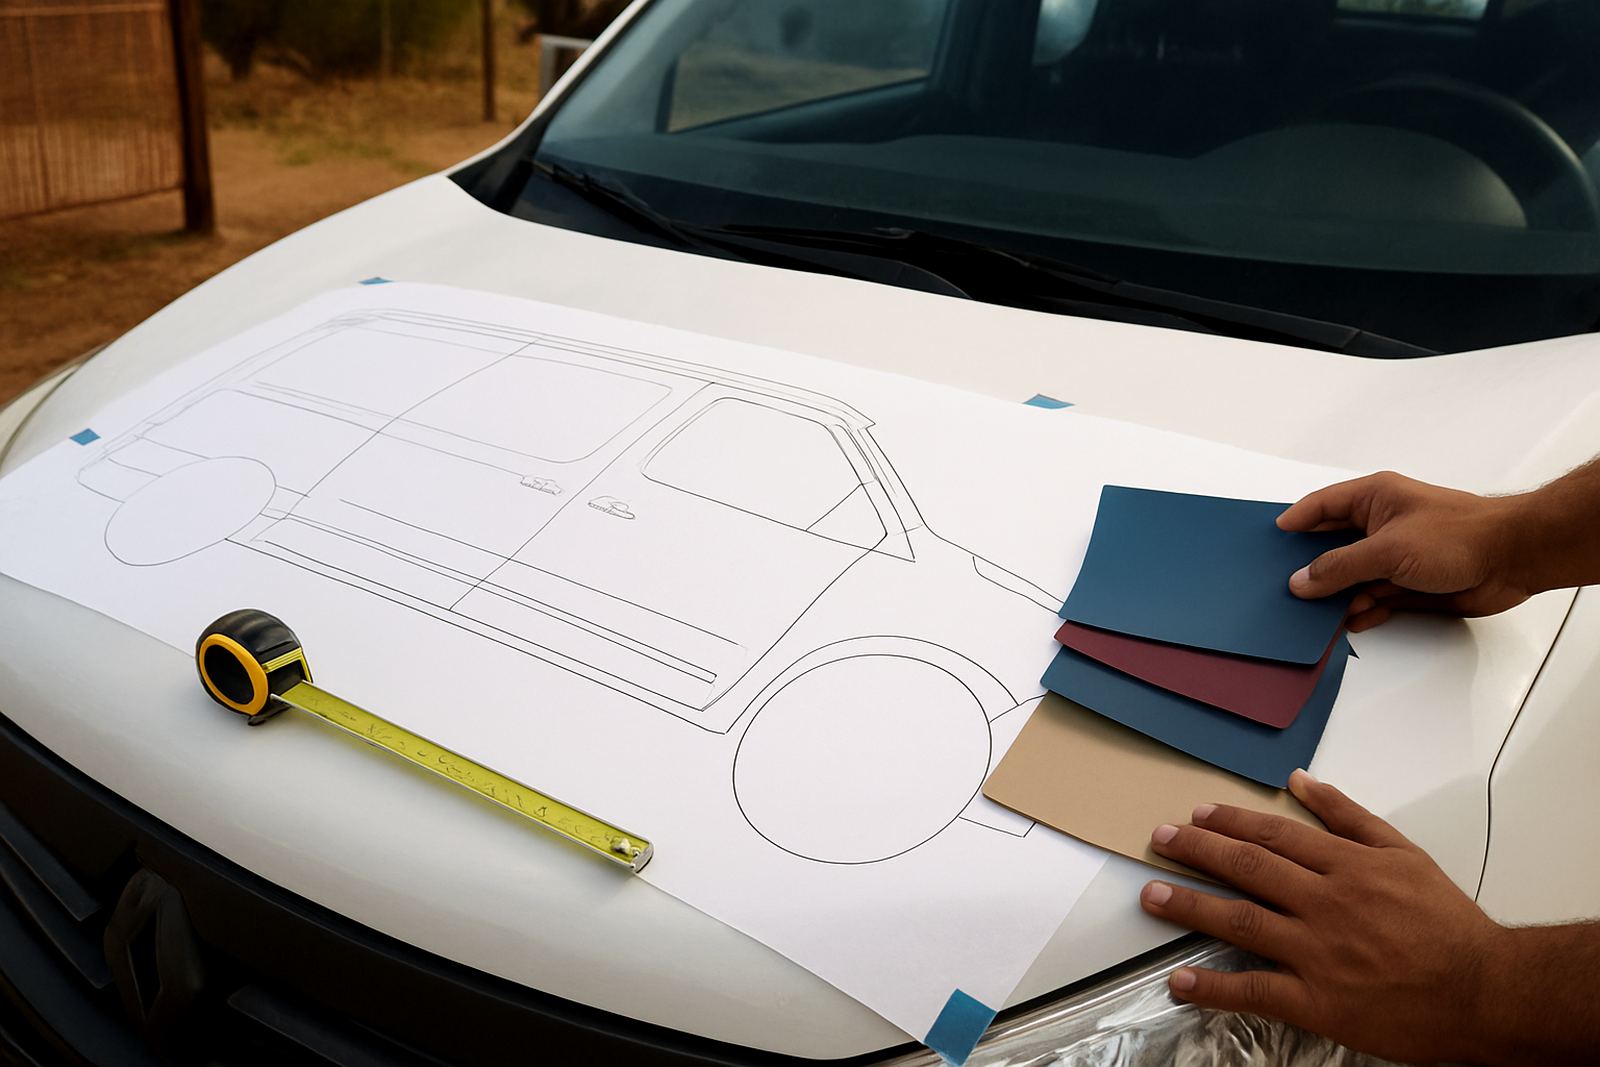
When you send artwork for setup, include the final size in metres and where the fixing points will go. If the banner is for a repeat campaign, keep the layout flexible so dates, prices or venue details can be changed without redesigning everything.
- Keep wording short and direct.
- Use high contrast colours.
- Leave safe margins for finishing and fixing.
- Check that the main message can be read in 3 to 5 seconds.
Finishing Options That Help A Banner Last Longer
Finishing is what turns printed material into a working banner. Eyelets are useful for ropes, cable ties and hooks. Hemming strengthens the edges so the banner is less likely to fray or split. For larger banners, especially where the wind pushes hard, ask for extra reinforcement on the corners and along the top edge. These details matter more than most buyers think.
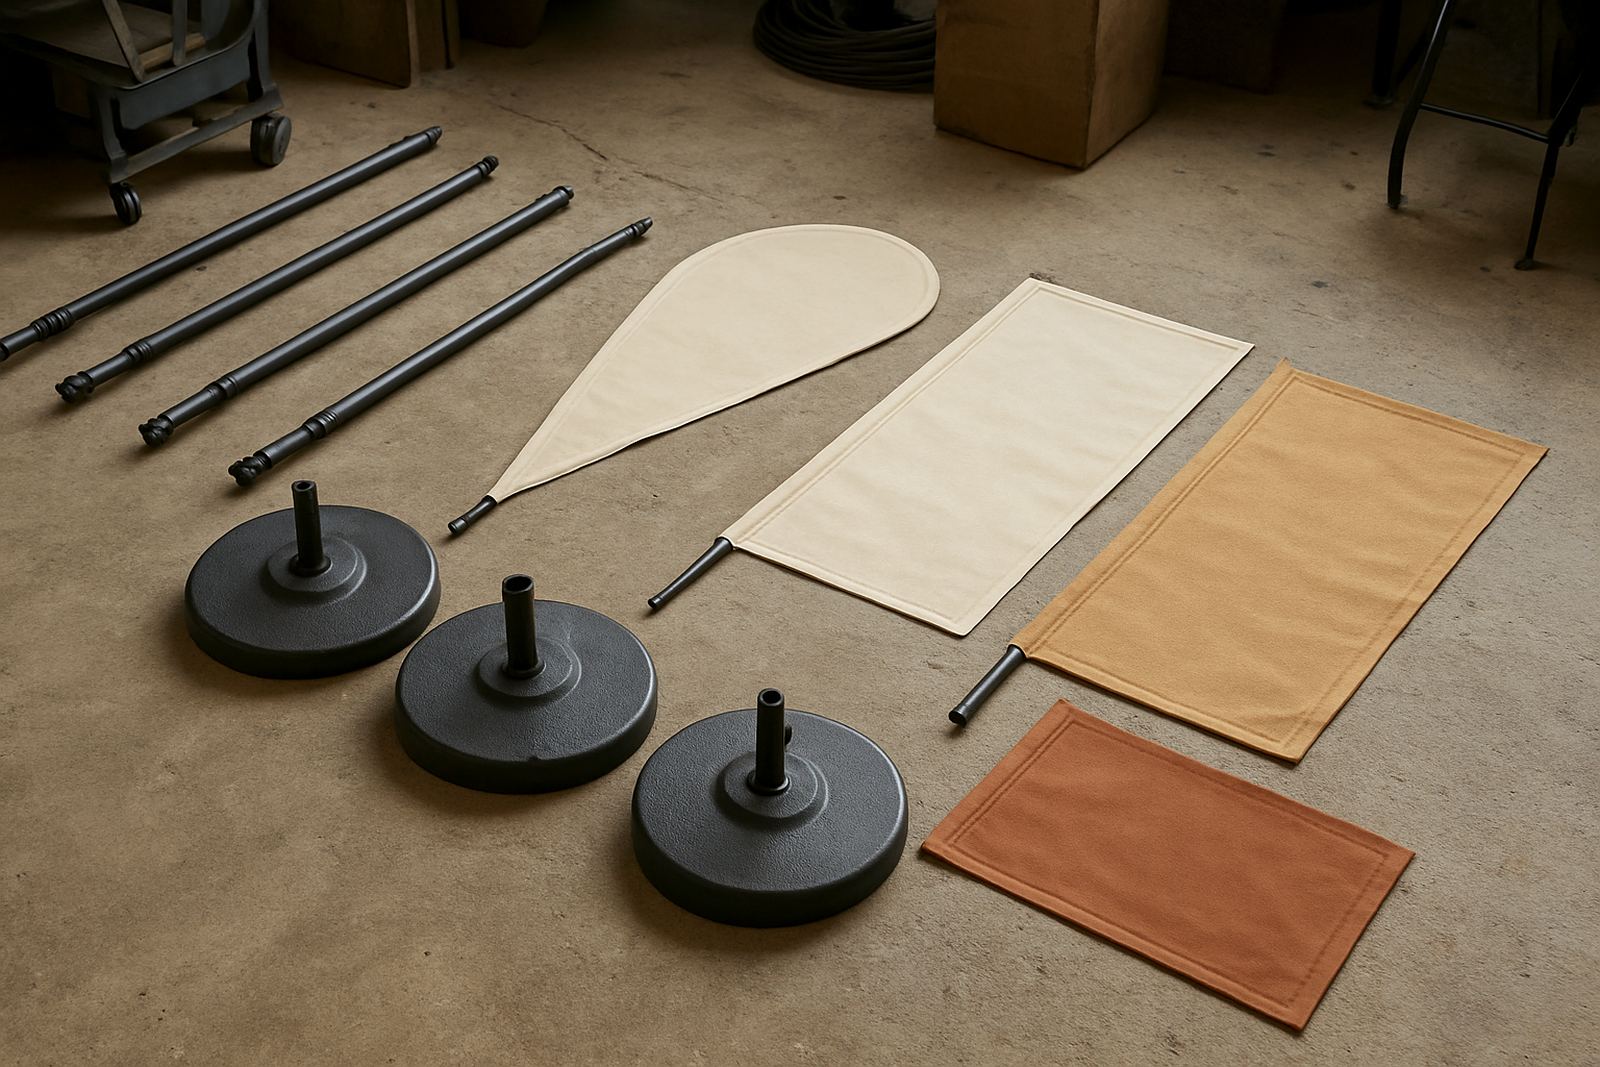
If the banner will be used on a stand or frame, pole pockets may be the better choice. They allow poles to slide through the banner and keep it neat and straight. For a hanging banner inside a hall or across a shop front, ask whether top and bottom finishing should be different. A heavier bottom edge can help stop fluttering. If the banner is going on a fence line, plenty of fixing points helps spread the load and avoid damage.
Crystal Clear Printing handles banner finishing for business promotions, school events and site notices across Rustenburg, Phokeng, Tlhabane and Mogwase. The aim is simple: make sure the banner stays presentable, even after repeated use.
- Eyelets for ropes, cable ties or hooks.
- Hemming for edge strength.
- Corner reinforcement for high stress points.
- Pole pockets for frames and pole systems.
Where To Put The Banner For Best Visibility
Placement can make the difference between a banner that works and one that gets ignored. At a business entrance, keep it where people naturally slow down. On a roadside, place it where drivers have time to read it safely. On a school fence, keep it above foot traffic and away from areas where children may pull at it. On a mine or industrial site, make sure it does not block access, signage or safety markings.
Also think about wind tunnels, shade and glare. A banner placed in a corner between buildings may whip around more than one on an open wall. A banner facing direct afternoon sun can fade faster if it is left up for many months. In some municipal areas, visible advertising may need approval before installation, so it is worth checking local rules before drilling or fixing anything permanent.
Our installations team can assist with sign installation, vehicle branding fitment and delivery and setup where the job needs it. For places like Boshoek, Mooinooi and the wider Bojanala area, practical access planning can save a second trip and a lot of hassle.
- Choose a position with clear sightlines.
- Avoid sharp edges and moving parts nearby.
- Check whether permissions are needed for roadside or fixed signage.
- Allow for safe access during installation and removal.
A Simple Buyer Checklist Before You Order
Before ordering a banner, use a checklist that covers size, material, site use and lifespan. Good banner work depends on a few clear details, not guesswork. Share the size, the material you want, where it will be used, and how long it must last. If you are not sure, ask for advice based on the site conditions. That is usually the fastest way to get a banner that fits the job the first time.
For mines, schools and businesses across Rustenburg and surrounding areas, the most common problems are poor sizing, weak finishing and artwork that is too crowded. A short checklist helps avoid all three. It also helps the production team set up the job correctly, from artwork setup and print lamination to banner finishing and delivery. Small details upfront save time later, and the final result looks much more professional.
- Final size in metres.
- Indoor or outdoor use.
- Expected duration.
- Fixing method: eyelets, pole pockets, or frame.
- Site location and weather exposure.
- Artwork supplied or design required.
- Delivery address and setup needs.
Clients can send through an enquiry on our contact page with the details above, and our team will help match the banner to the site. With the right material, finish and placement, your banner does its work without causing extra admin.